There's a lot of awesome stuff coming in iOS 10, but one of the things I'm most excited about is that now there's actually an API for doing speech recognition in your apps. It was sort of possible to do this previously through some hackery (I have a bit of experience there), but now Apple is finally making it easy to leverage their great dictation feature in any app. Let's take a look at how easy it is to plug dictation into an app.
Requesting Permission
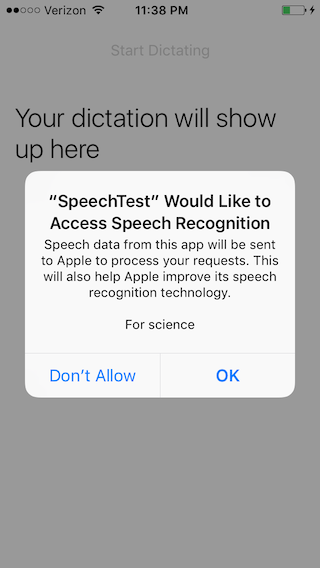
Similar to other APIs in iOS such as location, your app much request authorization from the user before it can make use of this feature. First you're going to need two new properties in your Info.plist file:
<key>NSSpeechRecognitionUsageDescription</key>
<string>For science</string>
<key>NSMicrophoneUsageDescription</key>
<string>For science</string>
For this example there are two things you need to request explicit permission from the user in order to do:
- use speech recognition
- use and record the microphone
The descriptions you provide in here will be displayed in the prompt iOS presents to the user:
Basic Setup
We'll want to add some private members to the controller to track most of the moving parts of the dictation:
private readonly AVAudioEngine _audioEngine = new AVAudioEngine();
private readonly SFSpeechRecognizer _speechRecognizer = new SFSpeechRecognizer();
private SFSpeechAudioBufferRecognitionRequest _speechRequest;
private SFSpeechRecognitionTask _currentSpeechTask;
This is a mix of some pre-existing AVFoundation functionality and new additions to iOS 10 such as SFSpeechAudioBufferRecognitionRequest.
Next we need to actually trigger that prompt:
public override void ViewDidLoad()
{
	base.ViewDidLoad();

	Dictate.Enabled = false;

	SFSpeechRecognizer.RequestAuthorization(status =>
	{
		if (status != SFSpeechRecognizerAuthorizationStatus.Authorized)
			return;

		_audioEngine.InputNode.InstallTapOnBus(
			bus: 0,
			bufferSize: 1024,
			format: _audioEngine.InputNode.GetBusOutputFormat(0),
			tapBlock: (buffer, when) => _speechRequest?.Append(buffer));
		_audioEngine.Prepare();

		InvokeOnMainThread(() => Dictate.Enabled = true);
	});
}
When the screen loads it will request authorization from the user, enabling or disabling a button in the UI based on the current authorization status. In a real application you would want to provide some more feedback to the user, of course. Once the user grants permission we also establish a tap on the microphone that appends the received buffer to the current speech request.
Side note: if you fail to set NSMicrophoneUsageDescription in your Info.plist file, attempting to access _audioEngine.InputNode here will cause your app to crash immediately in a way that you can't catch and that doesn't report any useful messages. Major hat tip to Larry O'Brien for helping me get to the bottom of that one, as it was driving me crazy.
Define the UI
For the sake of simplicity, the app's UI will be super simple:
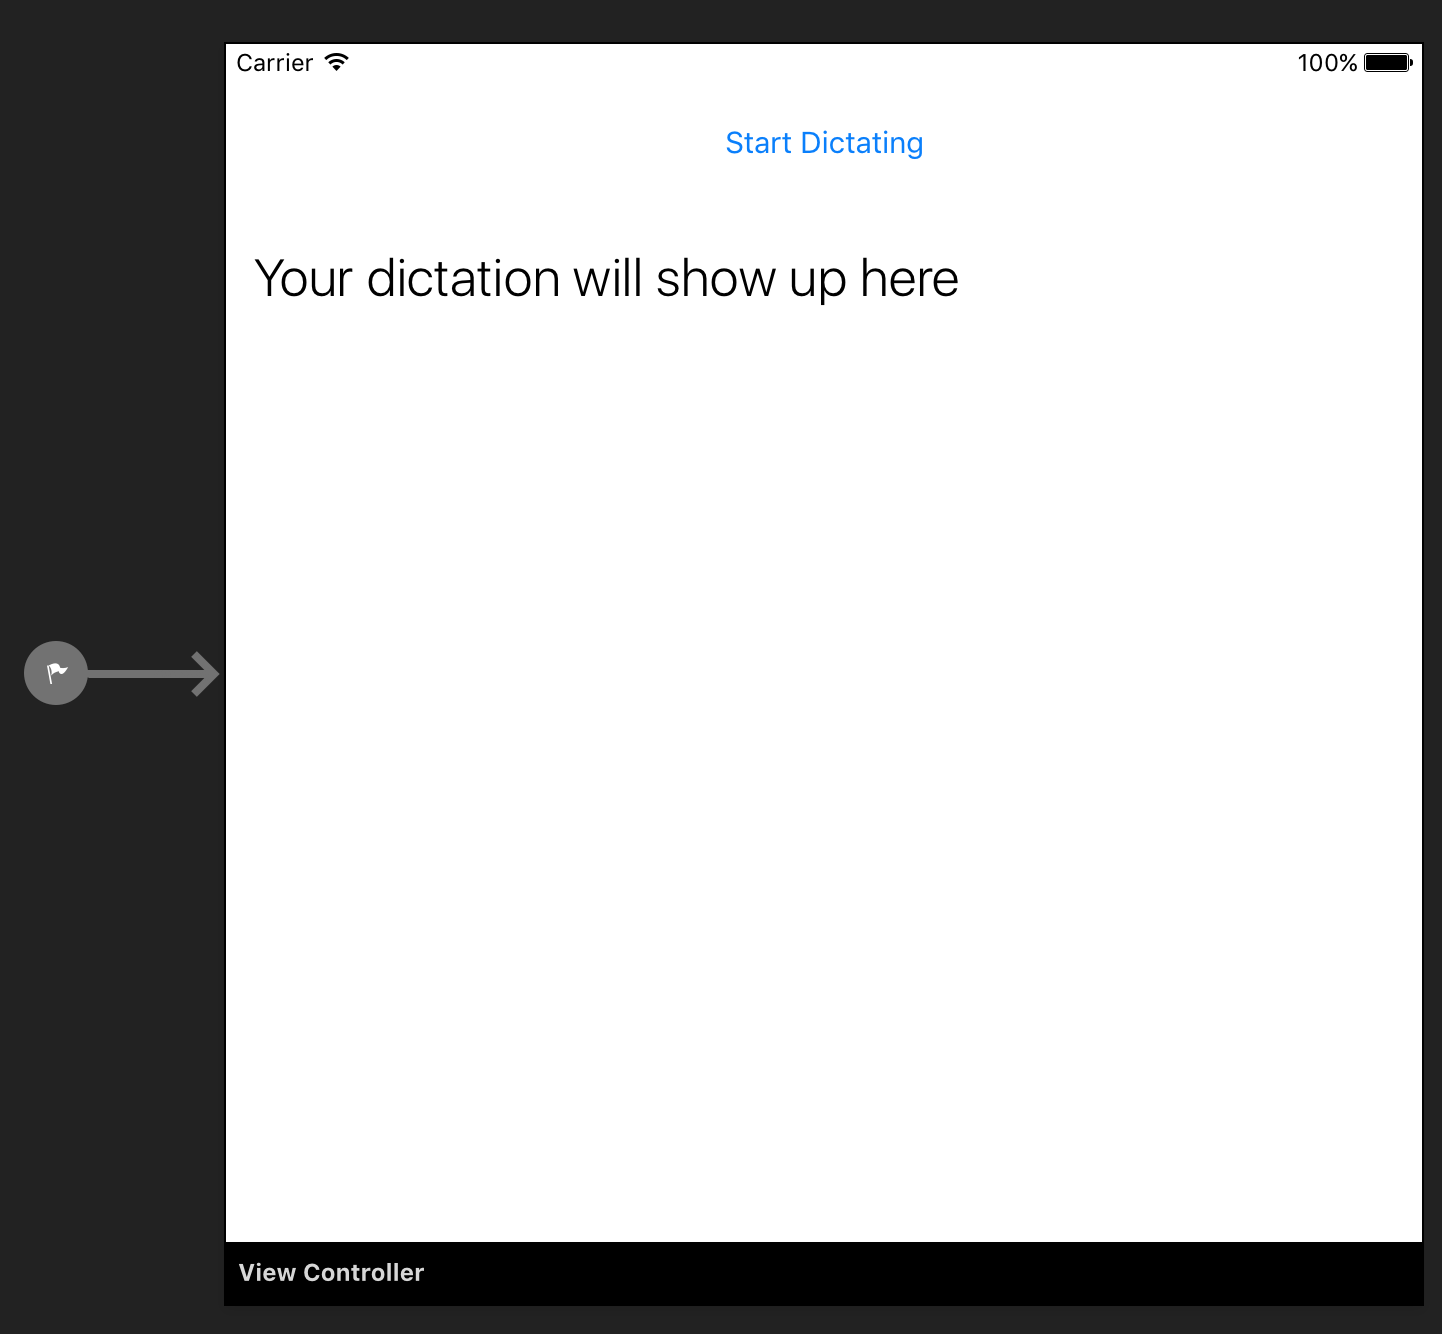
There's a button that will either start or stop the dictation, and a label that will display the output.
Implement Speech Recognition
Okay, now the fun part. First, let's wire up the button:
partial void onDictateTapped(UIButton sender)
{
	if (_currentSpeechTask?.State == SFSpeechRecognitionTaskState.Running)
	{
		InvokeOnMainThread(() =>
           Dictate.SetTitle("Start Dictating", UIControlState.Normal));

		stopDictating();
	}
	else
	{
		InvokeOnMainThread(() =>
		{
			Dictate.SetTitle("Stop Dictating", UIControlState.Normal);
			DictationResults.Text = "Waiting for dictation...";
		});

		startDictating();
	}
}
With that in place we can now implement startDictating():
private void startDictating()
{
	NSError error;
	_audioEngine.StartAndReturnError(out error);

	_speechRequest = new SFSpeechAudioBufferRecognitionRequest();
	_currentSpeechTask = _speechRecognizer.GetRecognitionTask(_speechRequest, (result, err) => InvokeOnMainThread(() =>
	{
		if (result == null) return;

		DictationResults.Text = result.BestTranscription.FormattedString;
		DictationResults.BackgroundColor = result.Final ? UIColor.Black : UIColor.Green;
		DictationResults.TextColor = UIColor.White;
	}));
}
In this method we create a new recognition request and speech task. When updates come in from the recognizer we update our label to display the text, and alter its background color based on whether dictation is still in progress or not.
Finally we just need to implement stopDictating():
private void stopDictating()
{
	_audioEngine.Stop();
	_speechRequest?.EndAudio();
}
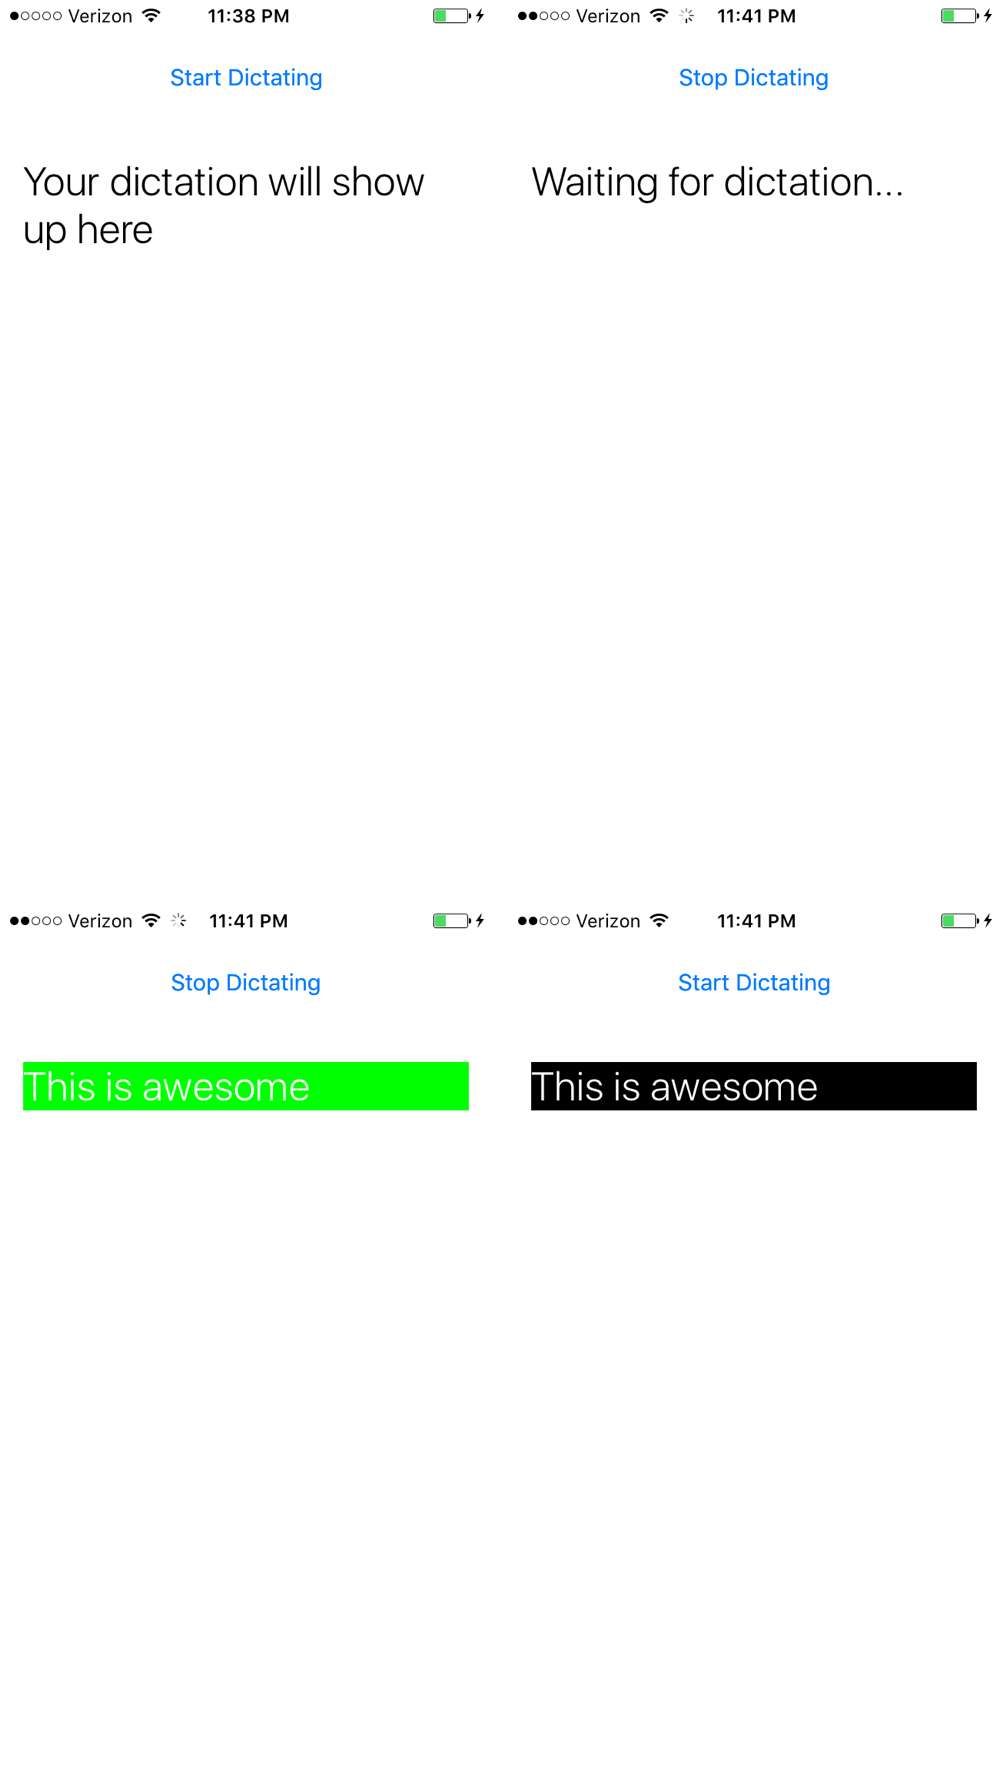
It's that easy! Running the app will look like this:
You can also provide a prerecorded file to the speech recognition APIs and have that turned into text as well, instead of recording audio live from the microphone.
Summary
That might have seemed like a lot, but most of it was just boilerplate, really. The actual code to tap into the microphone, record input, pass it into the speech recognizer, and display the results in real time as the user speaks really only took a few lines of code. I don't know about you, but I'm pretty excited about that.